Collaboration
Work on studies, share data and visualizations, and publish your findings as a publication or Data App.
Research
Find and access your research, store intermediate files, manage IDE state, and save results or visualizations.
![]()
What's New?
2026-03-11
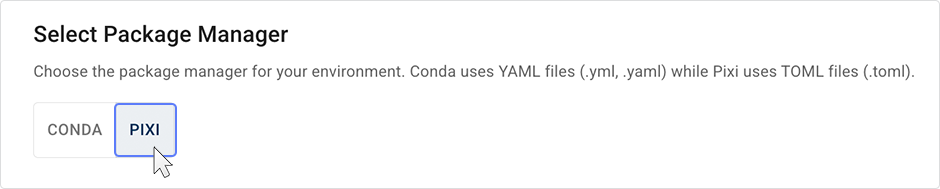
HISE Now Supports Pixi
HISE now supports Pixi to build and manage IDE environments. Behind the scenes, Pixi uses the same package sources as Conda, but it builds IDEs faster and more reliably. That means uploads are faster, and the environment fails less often. For details, see Use the Pixi Environment.
- Faster upload_files in Pixi IDEs. In regular mode (that is, non–fast mode), upload_files is significantly faster in Pixi IDEs than in comparable Conda IDEs. For example, a minimal Conda environment takes 15–20 minutes, while the same workflow in a minimal Pixi environment takes 6–10 minutes.
- Flexible content migration from Conda to Pixi. If your current IDE uses Conda, you can create a Pixi environment that reflects your existing setup and then launch a new IDE with that Pixi environment. Your Conda IDE stays as is, and you choose when and how to move your work into the Pixi IDE (for example, by opening the same project repo there or by copying specific notebooks). For details, see Convert a Conda IDE to a Pixi Environment (Tutorial).
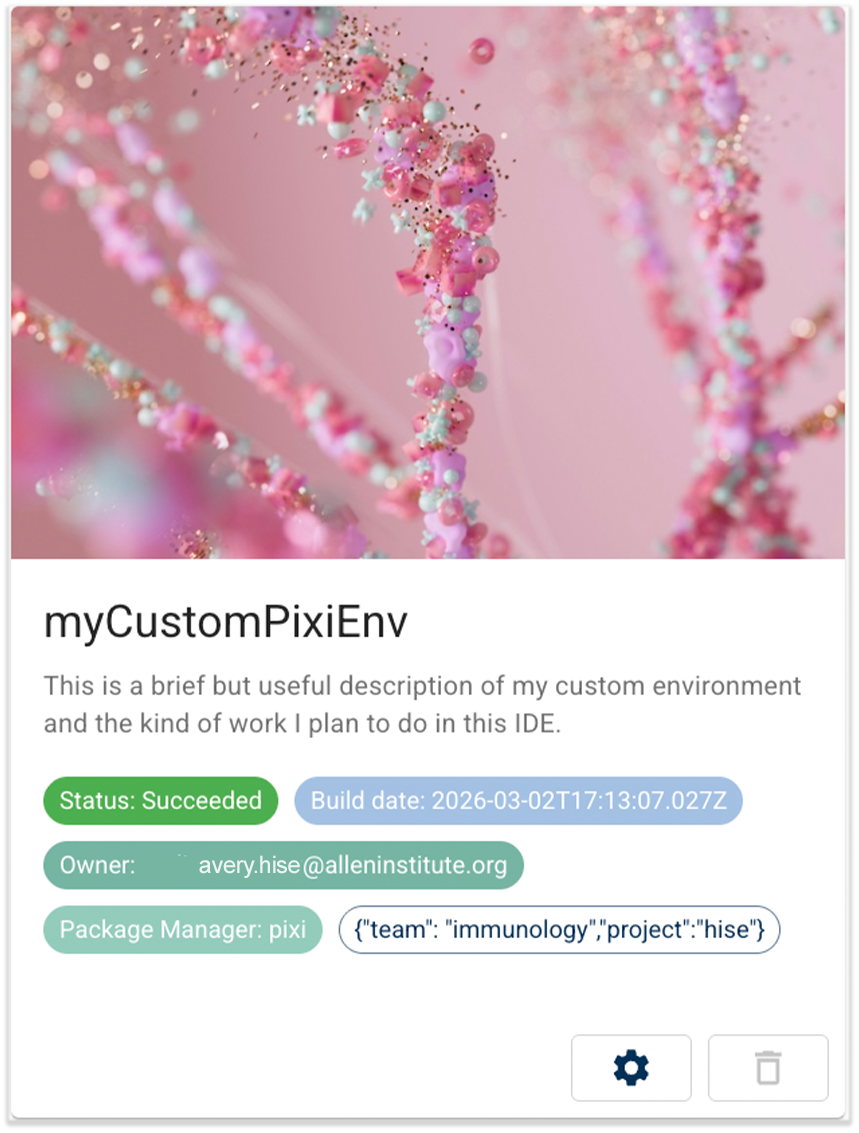
- Single dashboard for Conda and Pixi. You can use Pixi without affecting your current configuration. On the Manage Environment Packages page in HISE, you can toggle between Conda and Pixi. Choose Pixi, and then select a saved Pixi environment, or follow the regular IDE workflow (Research > IDEs) and save a Pixi environment from scratch. Of course, Conda environments are still available as well.
- Reusable package setup. When you use the Python SDK to install a GitHub package into your Pixi environment, the SDK records the build details and makes that package available each time you create a new IDE from that environment.
2026-03-04
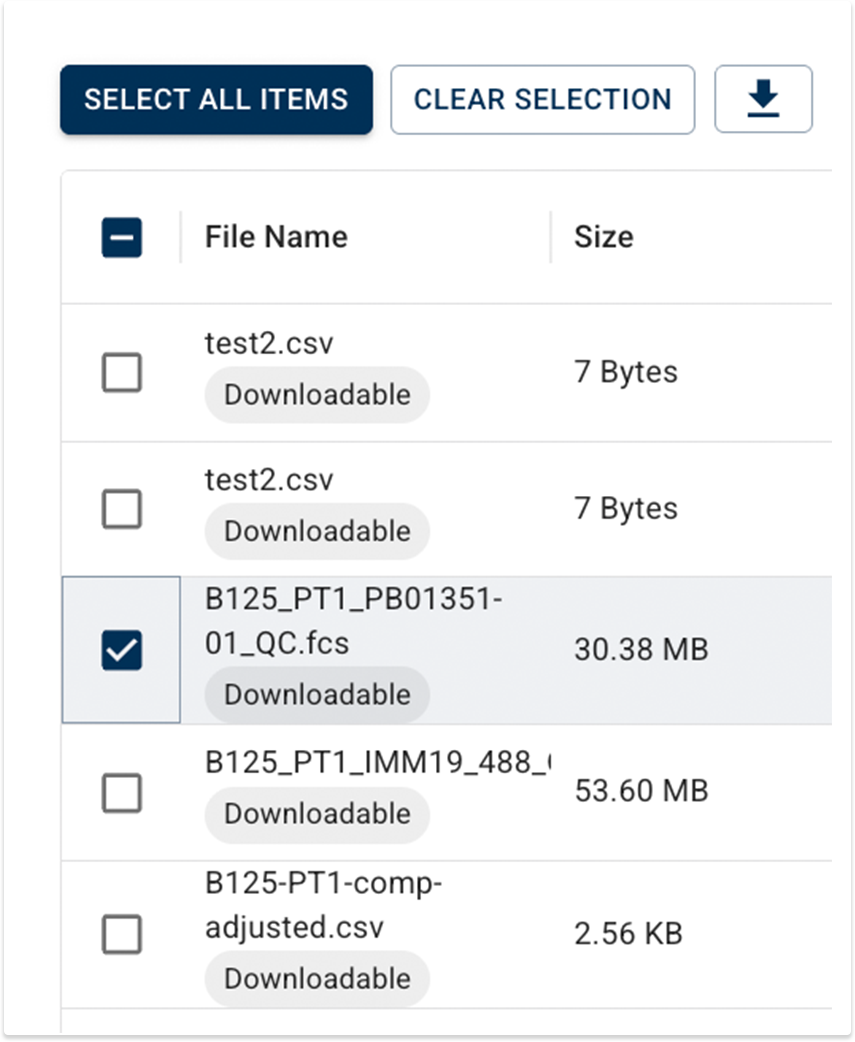
Download Files to Your Laptop
You can now securely download certain HISE files from Advanced Search to your laptop for use in tools like FlowJo or Xenium Ranger. Look for files marked Downloadable, and then use the download icon to save the file to your usual download location.
2026-02-25
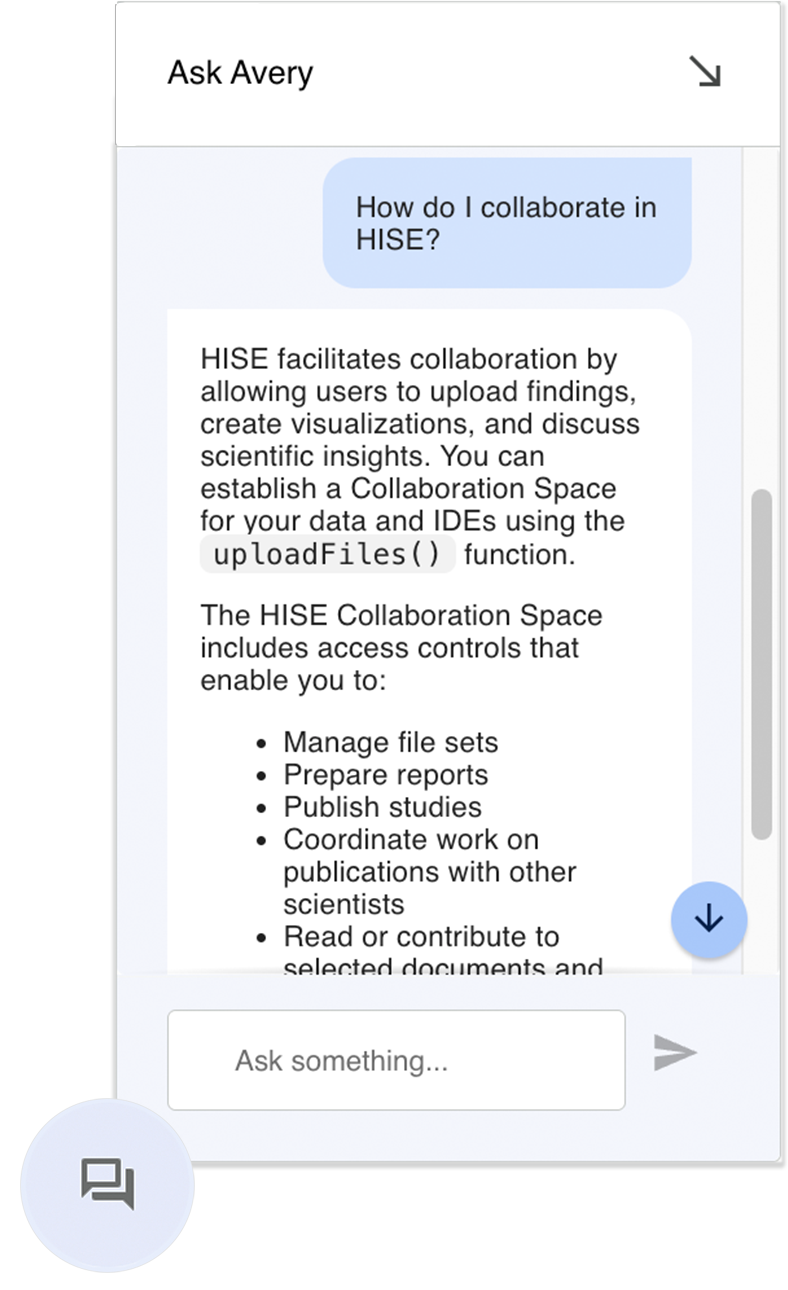
Ask Avery Chatbot Is Your HISE Assistant
The Ask Avery chatbot is now available throughout HISE to help you find answers about the platform without leaving your current page. Ask Avery returns fast, conversational responses to your questions about HISE IDEs, features, and workflows by searching across our documentation set. To get started, click the speech bubble in the lower-right corner of your screen in HISE, click Request Access to authenticate with Google, and simply type your question. Use the built-in feedback options or contact Support to let us know how well Avery answered, so we can continue to improve the experience.
2026-02-04
Xenium Pipeline Automates Tissue Identification within Blocks That Contain Multiple Tissue Specimens
The Xenium pipeline was updated to support the tissue block where a single slide contains multiple tissue specimens. Only correctly labeled tissues advance downstream. This additional validation step helps you avoid spending time and other resources analyzing misidentified samples, giving you greater confidence in every result.
2026-01-21
Advanced Search Redesign
We've redesigned the HISE Advanced Search feature with an intuitive, filter-based interface. Instead of writing database queries, you start with a broad category (files, samples, or subjects) and then use filters to narrow your results. These dynamic filters are organized into logical groups, such as File Metadata, Sample Metadata, Subject Metadata, Lab Results, Surveys, and Custom Metadata.
First, choose one of the three basic search types described in the following table.
| Search Types in HISE Advanced Search | |||||
| Type | Description | Example | |||
| Files | Select at least one project and one file type, and then add a filter such as file name or file ID. | Find all UMAP files by adding the File Name filter with the contains term operator and umap as the value. | |||
| Samples | Select at least one project, then optionally filter by sample metadata such as Sample Kit GUID or Sample ID. | Find all samples from a specific kit by adding the Sample Kit GUID filter with the equals operator and KT02189 as the value. | |||
| Subjects | Select at least one project, then optionally filter by subject metadata such as Subject ID or demographics. | Find a specific subject by adding the Subject ID filter with the equals operator and FH1010 as the value. | |||
Then add relevant filters. As you apply each additional filter, more granular, context-specific options appear. Each filter uses operators, like equals or contains term, paired with your chosen values. In the results window, after you select the results you want to keep, a floating options menu helps you move the results downstream:
- Add files to an existing file set
- Create a new file set
- Send results to an IDE for analysis
- Visualize results for specified file types

In the new Advanced Search, saved queries are regarded as research assets that document how your cohort or data set was defined. Sharing queries is as easy as copying a URL. You can make a query available to specified collaborators or to all account users. Queries are now unsaved and private by default, and adjusting their visibility doesn't affect underlying project data permissions.

For details, see the Release Notes. If you have questions about using Advanced Search, contact Support or see the following docs: