Use Advanced Search (Tutorial)
 | Abbreviations Key |
| HISE | Human Immune System Explorer |
| IDE | integrated development environment |
| CBC | complete blood count |
| CMV | cytomegalovirus |
At a Glance
The powerful advanced search feature in HISE lets you define the subjects, file types, or studies you want to find. Advanced search lets you create queries and filter result files by metadata related to the subject, the sample, CBC results, or pipeline characteristics. The selected search results can then be visualized or sent to an IDE for further inspection. You can also run multiple queries side by side, group the results of each query, and send them to a visualization tool for comparison. This document explains how to create, save, and share queries, as well as how to use the results.
Description
The advanced search functionality is the gateway to finding and accessing all your research output, including data files and human metadata. The various assay data analysis pipelines configured for your project produce specific output files and reports. To inspect the output of an analysis for a number of samples at the same time, use advanced search. If your project is configured with a project folder instead (or in addition), use advanced search to locate specific files within the folder.
| Watch a video demo of HISE's Advanced Search capabilities. |
Instructions
 Open Advanced Search
1. Navigate to HISE, and use your organizational email address to sign in.
2. On the Manage Workspaces/Account screen, click Go to Workspaces.

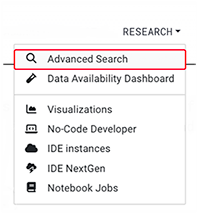
3. In the top navigation menu, click RESEARCH.
4. From the drop-down menu, choose Advanced Search.
 Create a Query
1. On the Advanced Search screen, you can create a new query or open an existing one.
A. To create a new query, click +New Query.

B. Enter or select each field in the dialog box:
i. In the Name field, enter a name for your query.
ii. In the Projects field, click the arrow at right, and select one or more projects from the drop-down list. Only projects to which you have access are shown, and the projects you select must be in the same account. For details, see Understand and View Accounts and Projects.
iii. In the Query Output field, choose Data files and reports or Sample metadata, survey and lab data. For help choosing one of the query output types, see the accompanying table.
Types of Query Output | |
| Type | Description |
| Data files and reports | Automated pipelines outputs (results files) or derived results from another colleague working in the same project. The code snippets users retrieve have unique file IDs. |
| Sample metadata, survey data, and lab data | Sample metadata and any associated survey and lab data for each sample a user searches for. The code snippets users retrieve have unique sample IDs. |
iv. In the Result File Types field, choose the file types you want to see.
v. Use the Set privacy field to indicate the visibility of your query.
a. By default, the query is set to PRIVATE, so it's visible only to you.
b. To give others permission to see and use the query, choose SHARED.
c. To share the query only with specific collaborators, choose SELECT USERS, and enter the names of those with permission to view and access the query.
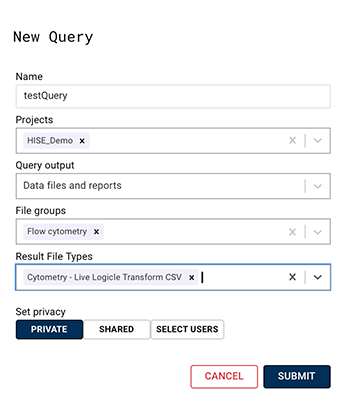
C. Click Submit.
 Use the Query Builder
1. On the Query Builder page, filter your data.
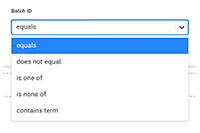
NOTESearch TipsUse Comparison OperatorsBy default, your query will look for values equal to the one specified in the query block. For more precise results, set the comparison operator to any of the following: equals, does not equal, is one of, is none of, or contains term.
Use BooleansBy default, the boolean operator AND combines multiple query blocks. To use an OR operator, click and hold the waffle icon, and drag it to another query block. |
A. From the FILE METADATA menu, filter by FILE NAME or VERSION.
B. From the SAMPLE METADATA menu, filter by name or ID, such as BATCH ID or SAMPLE GUID.
C. From the SUBJECT METADATA menu, filter according to the metadata you want to find.
D. From the USER TAGS menu, filter by tag.
E. From the SELECT LAB RESULT GROUP menu, add and then select the field you want to use as a filter.
F. From the SELECT SURVEY QUESTIONNAIRE menu, add and then select the field to use as a filter.
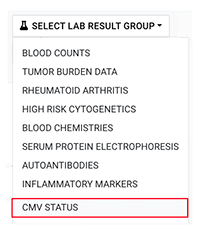
NOTEFilter by FieldWhen you use the SELECT LAB RESULT GROUP menu or the SELECT SURVEY QUESTIONNAIRE menu, you can apply the ADD FIELD option to yield more granular search results. Here we use CMV lab results as an example, but ADD FIELD offers countless ways to drill down to more precise results. 1. Click SELECT LAB RESULT GROUP, and choose CMV STATUS from the drop-down list.
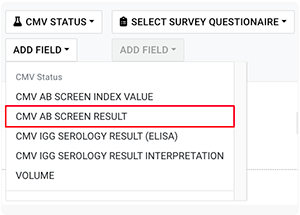
3. Click Add Field, which is now active and no longer grayed out.
4. From the drop-down list, choose CMV AB SCREEN RESULT.
5. In the CMV Ab Screen Result dialog box, click the arrow in the field to the right of the comparison operator (equals), and choose Positive from the drop-down list.
6. Click View Results.
|
 Clone a Query (Optional)
1.To create an identical, duplicate query, select the Copy icon to the left of the Edit and Delete icons.
2.To create a new query, adjust the values as needed.
3. In the lower-left corner of the screen, click View Results.

 Use Search Results
1. On the Search Results screen, select the checkbox to the left of each entry you want to see. To see all results, click SELECT ALL ITEMS, or select the checkbox to the left of the Result Type column heading.
2. In the bottom-right corner of the screen, choose what you want to do with your results:
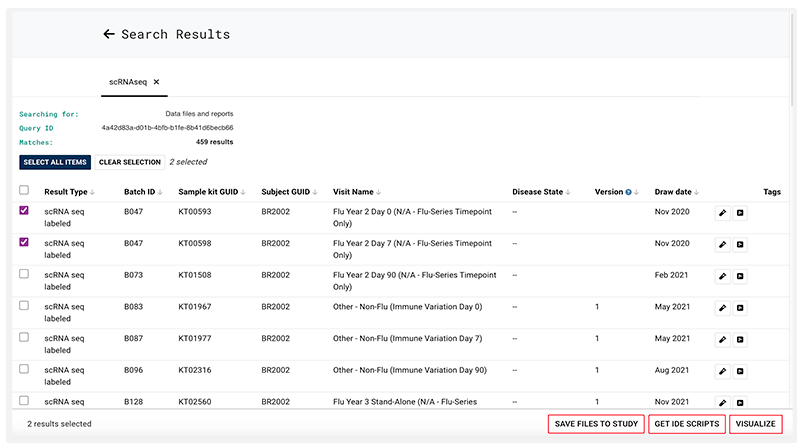
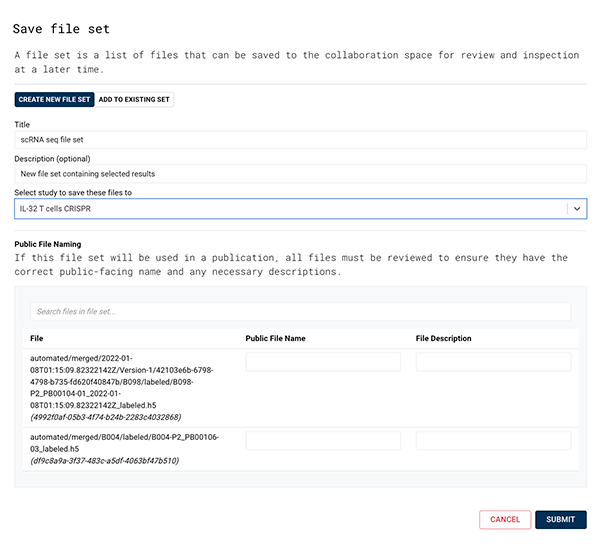
A. Save the files to study. You can share the saved file set with collaborators so that they can begin their analysis using the same input files.
i. On the Search Results page, select one or more results.
ii. Click SAVE FILES TO STUDY.
iii. In the Save file set dialog box, enter the title and (optional) a description of your file set.
iv. In the Select study to save these files to field, click the arrow to select a study from the drop-down list. For details, see Work with File Sets.
B. Get IDE scripts. You can generate a script to read data in digital notebooks.
i. On the Search Results page, select one or more results.
ii. In the Query IDE Scripts dialog box, click Copy Script. (The files you selected are listed by file ID in the script.)
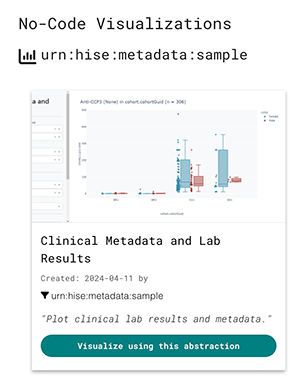
C. Visualize. You can visualize certain file types within the HISE UI.
i. On the Search Results page, select one or more results.
ii. Cick Visualize.
iii. Click Visualize using this abstraction. For details, see Create a Visualization.
 Related Resources
Configure a Pipeline (Tutorial)
Track Your IDE Billing Expenses (Tutorial)

