
Manage Assets in Data Apps (Tutorial)
For an introduction to all Data Apps UI elements, including plugins and templates, see Explore Data Apps Plugins and Other UI Components. To work with pages, templates, and other text containers, see Manage Pages and Text Elements in the Data Apps UI (Tutorial). To create navigational elements, such as buttons, badges, and links, and visual elements, including image carousels, embedded videos, and icons, see Manage Visual and Navigational Elements in the Data Apps UI (Tutorial). |
 | Abbreviations Key |
| AIFI | Allen Institute for Immunology |
| CertPro | Certificate of Reproducibility |
| HISE | Human Immune System Explorer |
| UI | user interface |
At a Glance
Data Apps is a dynamic platform that showcases the data and computational resources in HISE, helps scientists explore AIFI research, awards Certificates of Reproducibility (CertPros), and packages assets in a custom-designed UI. Assets—including visualizations, file sets, notebooks, and the studies they're associated with—are the content components of each Data App. This document shows you how to add, view, and delete assets in your Data App.
Instructions
To request a Data App, contact Then log in to HISE, and use the following instructions to manage your Data App assets
Add a study
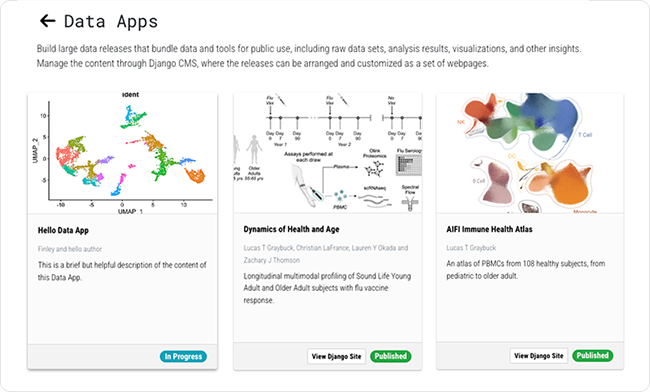
1. Navigate to COLLABORATION SPACE > Data Apps, and choose the Data App you want to work with. To add content, the Data App must be unpublished, as indicated by the In Progress tag in the lower-right corner of the card. The image below, for example, shows one unpublished (left) and two published (center and right) Data Apps.
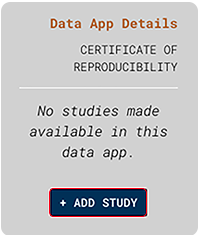
2. In the side navigation panel, in the Data App Details column, click ADD STUDY.
3. In the Select a study... dialog box, click the drop-down list and choose the name of the study you want to add.
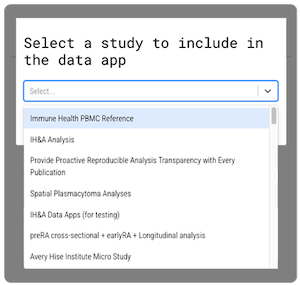
You can add or delete a study and study assets only if you're an owner. If you don't see the study or asset you want, ask the study owner to add you to the list of owners. |
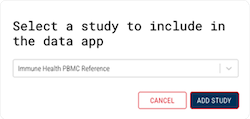
4. In the lower-right corner of the dialog box, click ADD STUDY.
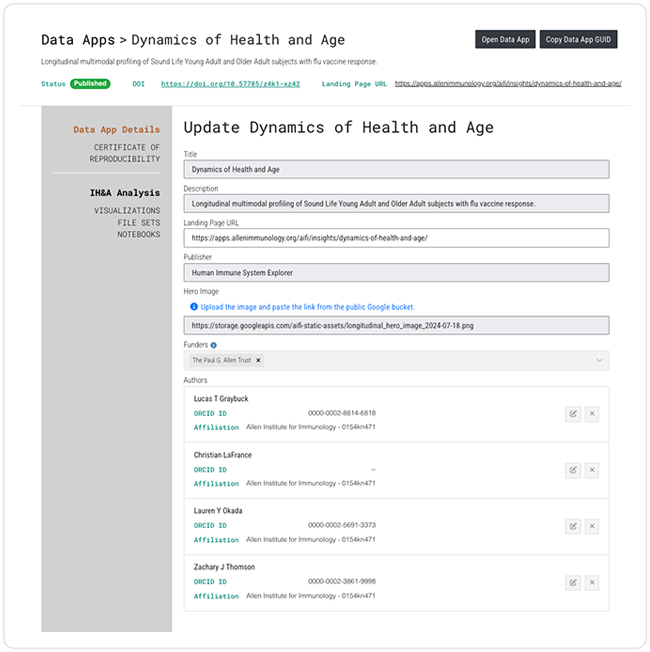
The study now appears in the side navigation panel, in the Data App Details column.
Delete a study
1. Navigate to COLLABORATION SPACE > Data Apps, and choose the Data App you want to work with.
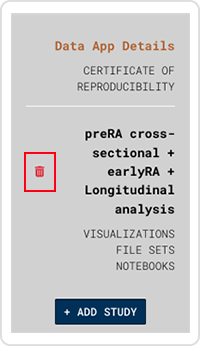
2. In the side navigation panel, in the Data App Details column, find the study you want to delete, and click the red garbage can icon at left. (If you don't see the icon, refer to the note above regarding ownership.)
3. In the confirmation dialog box, click SUBMIT.
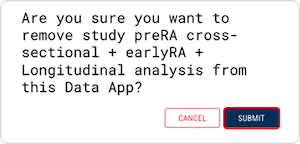
The study no longer appears in the side navigation panel of your Data App.
Add a content asset
1. Navigate to COLLABORATION SPACE > Data Apps, and choose the Data App you want to work with.
2. Follow the preceding instructions to add a study to your Data App.
3. In the side navigation panel, in the Data App Details column, find the name of the study whose assets you want to add.
A. Add a visualization
i. Click VISUALIZATIONS.

ii. On the Update Visualizations screen, click the arrow next to the Selected Visualizations field, and choose a visualization associated with the study. (If you don't see a list, refer to the note about ownership in the Add a Study section.)
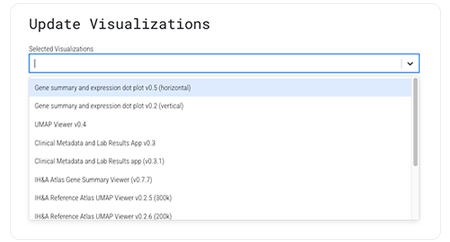
iii. Click a visualization in the list, and click SAVE.

A thumbnail of the visualization now appears on screen.
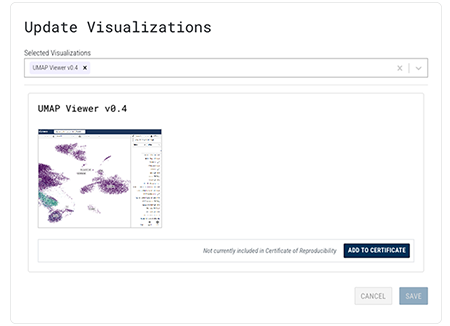
B. Add a file set
i. Click FILE SETS.

ii. On the Update File Sets screen, click the arrow next to the Selected File Sets field, and choose a file set associated with the study. (If you don't see a list of files, refer to the note about ownership in the Add a Study section.)
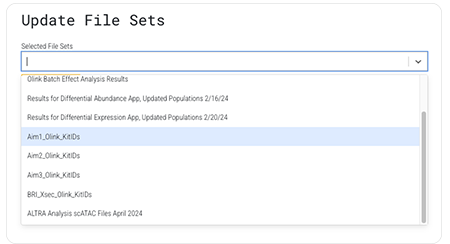
iii. Click Save, and a thumbnail of the file set appears on screen.
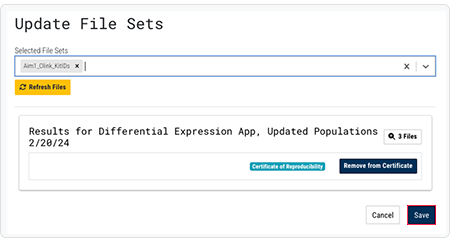
iv. To see all available file sets, click REFRESH FILES.

The file you just added now appears with the files you added previously.

C. Add a notebook
i. Click NOTEBOOKS.

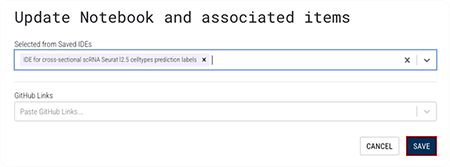
ii. On the Update Notebook and associated items screen, do the following:
a. Click the arrow next to the Selected from Saved IDEs field, and choose a notebook associated with the study. If no options appear, review the note about ownership in the Add a Study section, and see Step 3.C.ii.b (below).

b. Copy a link to a notebook in your GitHub repository, and paste it into the GitHub Links field.
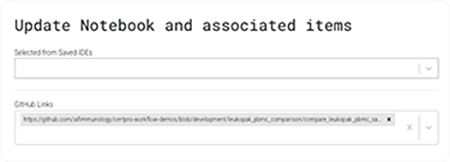
iii. Click Save.
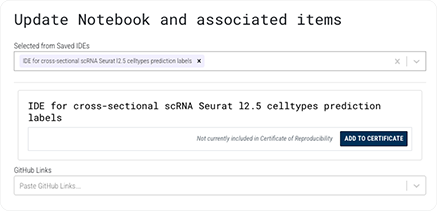
A thumbnail of the notebook now appears on screen.
Delete a content asset
1. Navigate to COLLABORATION SPACE > Data Apps, and choose the Data App you want to work with.
2. In the side navigation panel, in the Data App Details column, find the name of the study that contains the asset you want to delete.
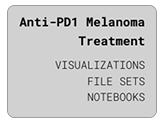
3. Click the type of asset you want to delete: VISUALIZATIONS, FILE SETS, or NOTEBOOKS.
A. Delete a visualization
i. On the Update Visualizations page, in the Selected Visualizations field, click the X to the right of the visualization you want to delete.
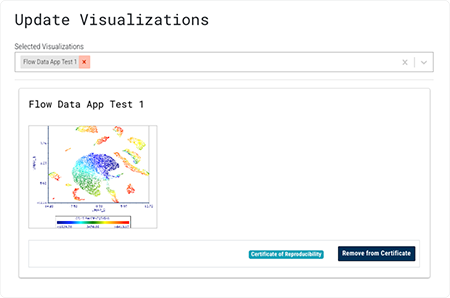
ii. Click Save. The visualization is no longer visible, and a success notification appears near the lower-left corner of your screen.

B. Delete a file set
i. On the Update File Sets page, in the Selected File Sets field, click the X to the right of the file set you want to delete.
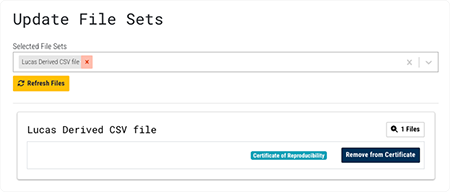
ii. Click Save. The file set is no longer visible, and a success notification appears near the lower-left corner of your screen.

C. Delete a notebook
i. On the Update Notebook and associated items page, in the Selected from Saved IDEs field, click the X to the right of the notebook you want to delete.
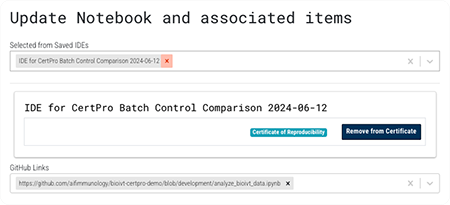
ii. Click Save. The notebook is no longer visible, and a success notification appears near the lower-left corner of your screen.

View a content asset
You can view assets in published or unpublished Data Apps. Your role determines which assets you can view and the location in which you view them. Study owners have a higher level of permissions than non–study owners.
Study owners
1. If you're a study owner, navigate to COLLABORATION SPACE > Data Apps, and choose the published or unpublished Data App whose assets you want to view (see Step 1 in the Add a study section).
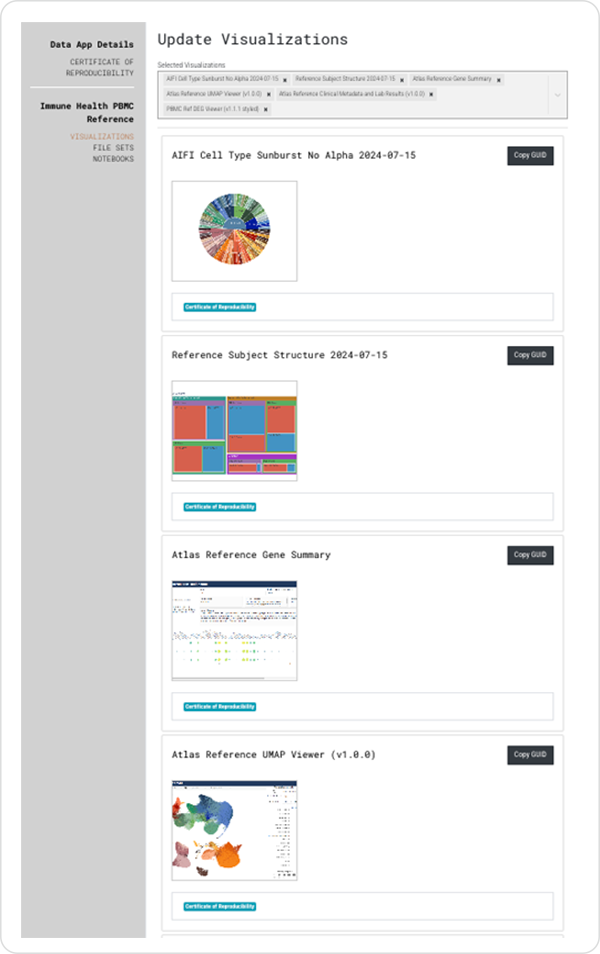
2. In the side navigation panel, in the Data App Details column, choose the type of asset you want to view: VISUALIZATIONS, FILESETS, or NOTEBOOKS.

3. View the assets in your Data App on the Update page. The following page, for example, shows thumbnail images representing the first four visualizations attached to this Data App.
Non–study owners
1. If you're not a study owner, you can still view public domain assets in any published Data App. After all, the whole point of the Data Apps platform is to make the research process transparent and reproducible.
A. To view the available assets, visit the public URL of the Data App you're interested in. Public URLs for Data Apps always begin with https://apps.allenimmunology.org, followed by a file path.
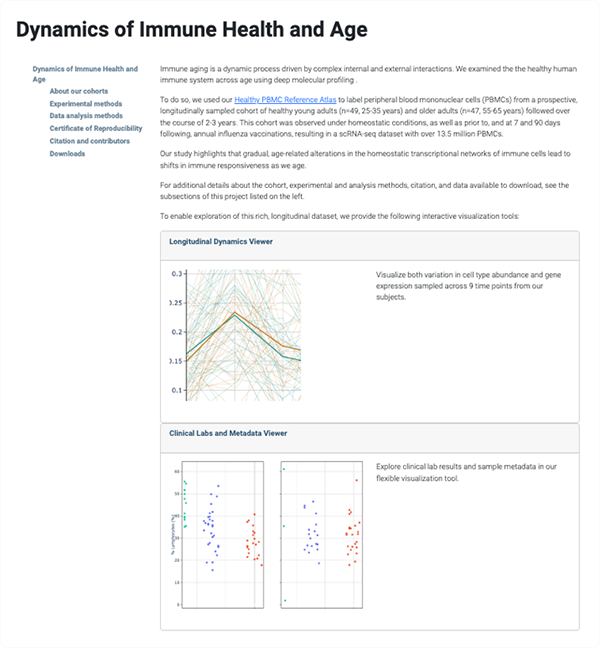
i. Visualizations. You can view the visualizations in the Data App's public pages. For example, the Dynamics of Immune Health and Age Data App displays two visualizations on its landing page.
ii. File sets. You can view the names of file sets on individual vertices in a Data App's CertPro. From a workspace, you can view or download the files themselves.
a. Navigate to COLLABORATION SPACE > Data Apps, and choose the Data App you want to work with (see Step 1 in the Add a study section).
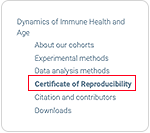
b. From the side navigation menu, choose Certificate of Reproducibility.
c. View the vertices in the certificate, such as the FILE vertex in this row.

d. From a workspace, you can click through to the files themselves. For example, the following FILE vertex clicks through to a .tar file containing the entire flow cytometry reference set. For details, see Step 1B (below).

iii. Notebooks. Likewise, each IDE vertex describes a released IDE instance. To download files or clone the IDE, you can request permission to execute the certificate. For details, see Step 1B (below).

B. To execute the portions of a CertPro that interest you, or to execute the entire certificate, you need a workspace. There you can copy some or all of the file sets in the Data App, re-execute the entire pipeline and save the new output, or clone an IDE used in the original research. For details, see Manage Certificates of Reproducibility.
i. To request a workspace, contact immunology-support@alleninstutute.org.
ii. For details, see Manage Workspaces (Tutorial).
 Related Resources
Manage Visual and Navigational Elements in the Data Apps UI (Tutorial)
Manage Pages and Text Elements in the Data Apps UI (Tutorial)
Explore Data Apps Plugins and Other UI Components