Last modified 2026-02-03 |
Create Your First HISE IDE (Tutorial)
 | Abbreviations Key |
| AIFI | Allen Institute for Immunology |
| HISE | Human Immune System Explorer |
| IDE | integrated development environment |
At a Glance
HISE is the central research hub for AIFI cloud data storage, visualization, and analysis. The Jupyter Notebook, a type of IDE, provides an interactive environment for exploring HISE and deriving further insights from your data. This document explains how to create your first IDE in the Jupyter Notebook environment. If you have questions or need help, contact Support.
Instructions
 Sign in
1. Navigate to HISE, and use your organizational email address to sign in.
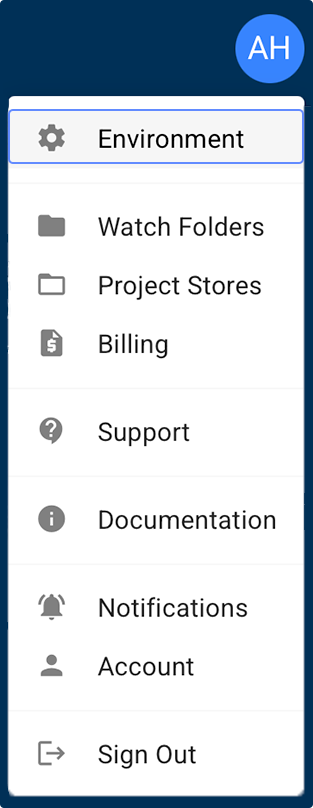
2. In the upper-right corner, click your name, and then choose Environment.
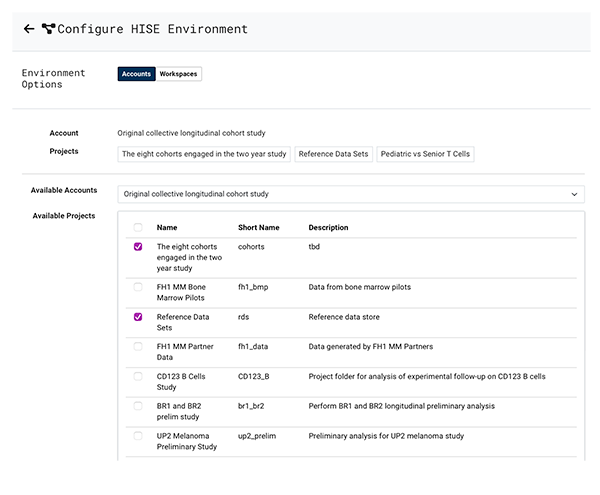
3. On the Accounts tab, choose one or more projects you want to work with. (To select or deselect all projects, select or deselect the checkbox to the left of the Name field in the Available Projects box.)
 Create an IDE
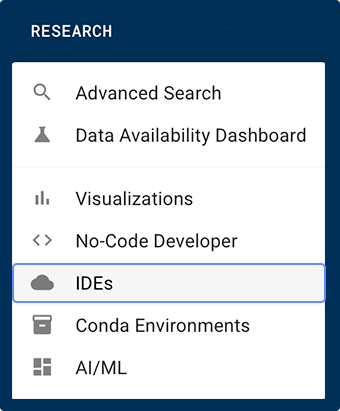
1. From the RESEARCH menu in the top navigation, choose IDEs.
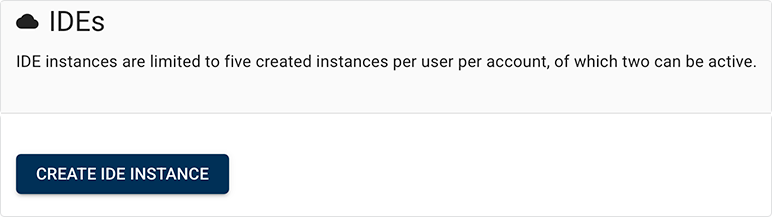
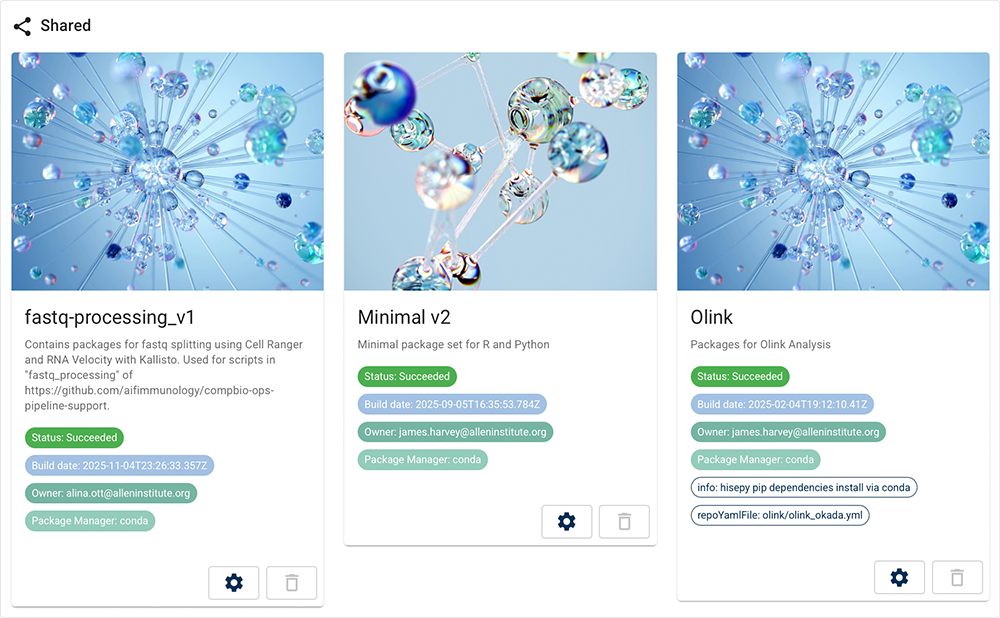
2. On the Select Environent page, click Create IDE instance. (Alternatively, to open an existing instance, click on the card that represents the instance you want to open. To find a particular instance, use the Sort by field to sort existing instances by status or last modified date, or type a keyword into the Search by instance name field.)
3. On the Select Environment page, select the modality that best fits your research. Choosing a modality assigns the right tools, libraries, and compute resources to your IDE and ensures that the environment is compatible with the expected data types. If you're not sure, choose Minimal v2.
4. On the Create an IDE with this package page, click CREATE IDE.
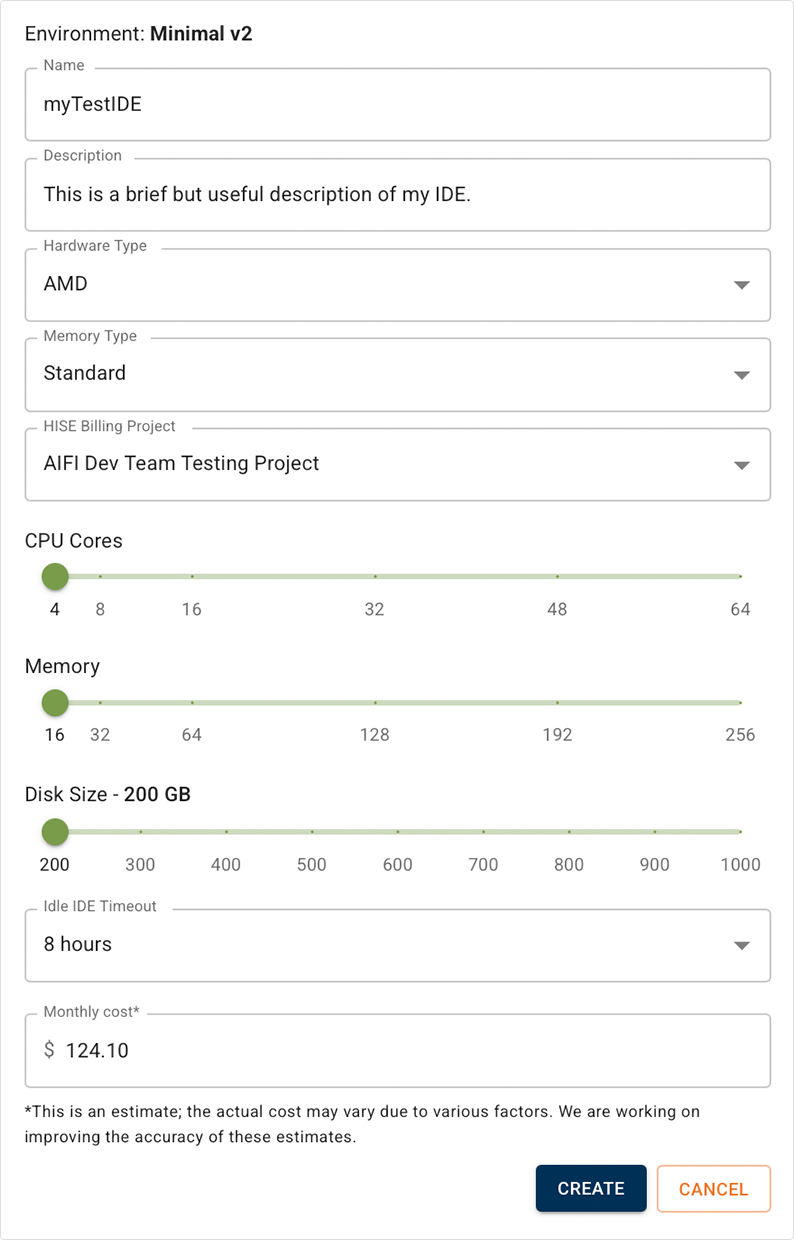
5. On the IDE Settings page, complete the requested fields. A. In the Name field, enter a name for your IDE. It must be at least 10 characters in length (maximum 255 characters). B. (Optional) In the Description field, enter a brief explanation of what the IDE will be used for. C. In the Hardware Type field, keep the default unless you prefer the alternative. D. In the Memory Type field, choose High Memory if you have plenty of memory available and want your functions to run faster, especially if you're working with large datasets. Otherwise, choose Standard. E. In the HISE Billing Project field, select the project that best matches the analysis you're working on. This field determines which project is billed for your IDE expenses. Project selection does not limit data availability. F. On the CPU Cores slider, choose the number of cores you want. (The standard configuration has 4 GB of memory per CPU core, and high memory has 8 GB per core.) The Memory slider adjusts automatically, and your estimated cloud billing cost appears in the Monthly cost field. G. On the Disk Size slider, accept the default size of 200 GB unless you need a larger size for your analysis. Expanding the default value significantly increases the monthly cost of your IDE instance. 6. Click CREATE. Nice! Now go grab a cup of coffee while your instance is created. It'll take just a few minutes.
|  |

 Open and use your IDE
1. When your instance is ready, you'll be notified.

A. On the IDE Details page, review the packages and monthly cost of your instance.
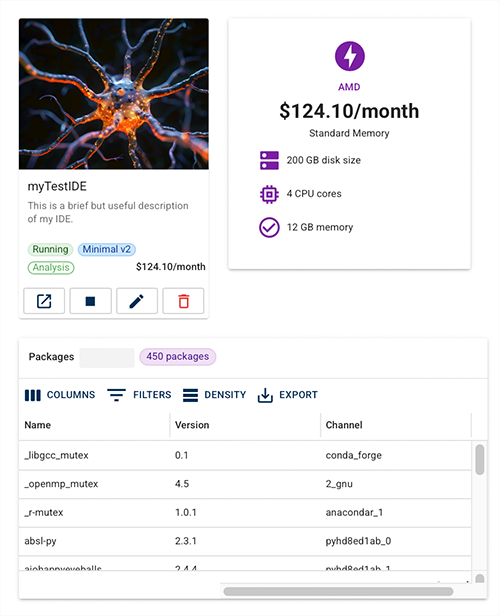
B. To open your IDE, click the boxed arrow in the lower-left corner of the IDE card.

C. In the left navigation panel of your Jupyter notebook, check the /examples folder for examples of how to analyze specified HISE data types. For help, see Use HISE SDK Methods and Get Help in the IDE. See also the resources listed below.

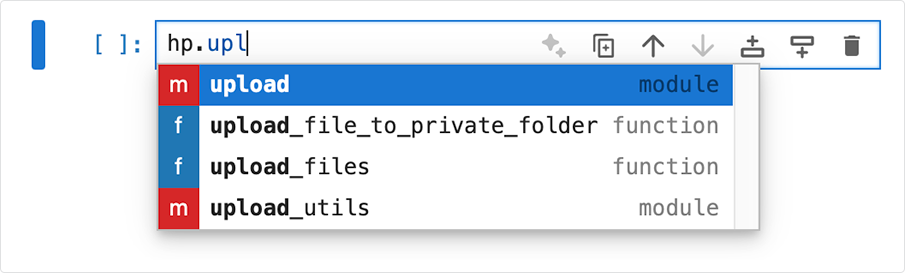
D. To import hisepy, choose a Python or R notebook, and enter one of the following into the first cell.
Pythonimport hise as hp
Rlibrary(hise)
That's all there is to it! You're ready to run your own analysis. For help, see the Jupyter Notebook Tips box, or contact Support.
Jupyter Notebook Tips
|

 Related Resources