Manage Data Discoverability (Tutorial)
At a Glance
By default, human metadata (lab results, EMR data, and survey responses) is excluded from all publicly accessible Data Apps and publications. HISE has new data discoverability features that let you explicitly choose which fields to include in the public data that becomes findable in Advanced Search.
This opt-in selection process for public data safeguards patients' privacy and supports AIFI's legal and ethical compliance with best practices in data confidentiality. If you have questions or need help, contact Support.
When to Use This Feature
To promote reproducibility and transparency, under certain circumstances you might want to make specified data publicly discoverable in your publication or Data App:
When you prepare a HISE publication for public sharing. For details, see Prepare a Publication (Tutorial).
When you configure a Data App for public use. For details, see Explore the Data Apps Platform (Tutorial).
When you want specific human metadata fields to be searchable in Advanced Search under the PUBLIC FILES tab. For details, see Understand Advanced Search Concepts.
Instructions
Click on each step for detailed instructions on choosing which human metadata fields become discoverable in Advanced Search.
Step 1: Open data discoverability settings for your public asset
Navigate to HISE, and use your organizational email address to sign in .
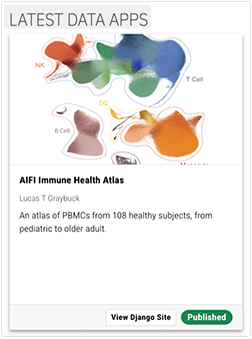
In the top navigation menu, click COLLABORATION SPACE and then click the Data Apps heading. (Alternatively, to configure discoverable metadata in a publication, click the study space that houses your publication, and then click PUBLICATION.)
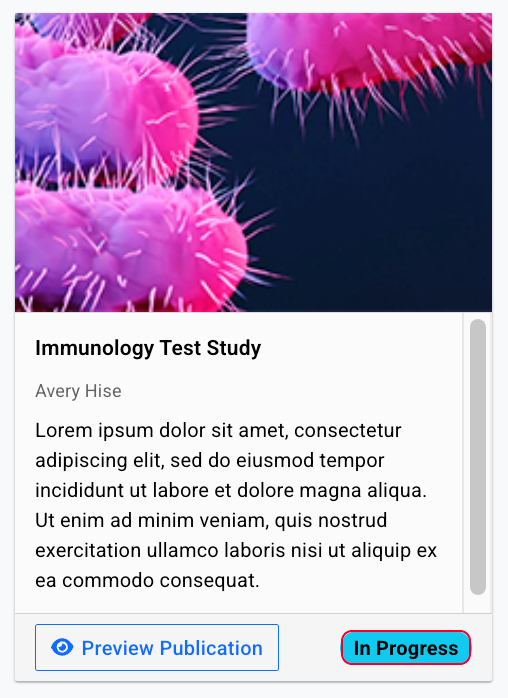
A. Click the Data App (or publication) whose metadata you want to configure.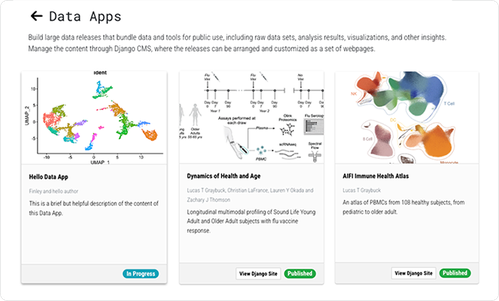
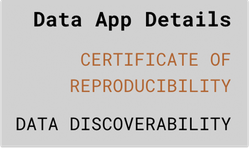
B. In the Data App Details panel at left, click DATA DISCOVERABILITY.
Step 2: Review available data and (optional) make specified items discoverable
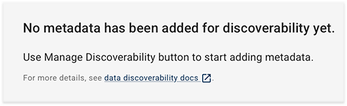
If you have not yet opted to include any data, a message like this one appears on the Manage Data Discoverability page.
If you've previously selected data to be added, it appears on this page. Any data to be reviewed is marked with a Not Reviewed tag.

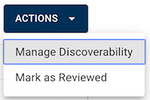
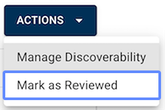
To review all available public data, click ACTIONS > Manage Discoverability.
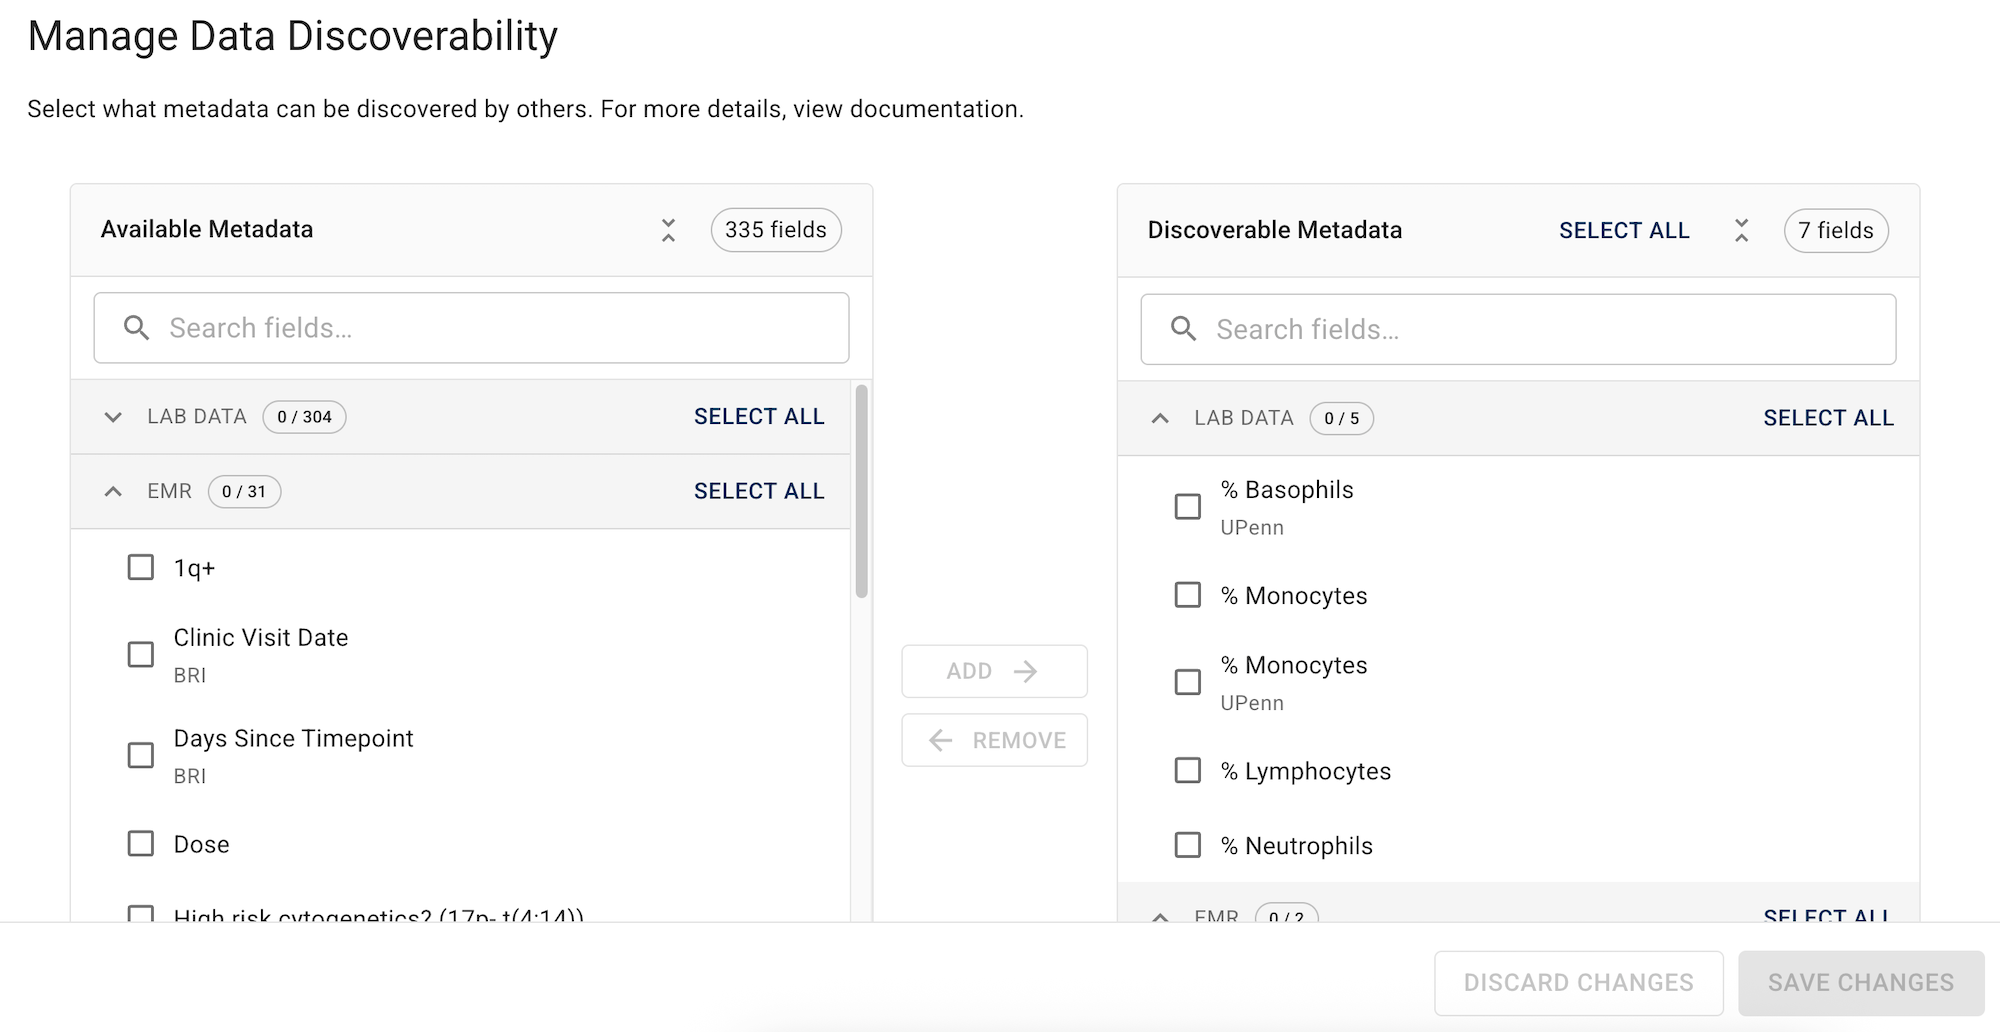
A. On the Manage Data Discoverability page, in the Available Metadata section, note the number of metadata fields, indicated by a tag to the right of the heading.
B. Scroll through the list of fields under each Available Metadata group. These categories—LAB DATA, EMR, and SURVEY DATA—correspond to the Advanced Search filters. To see the fields in each collapsible group, click the arrow (the Expand icon) next to the group name.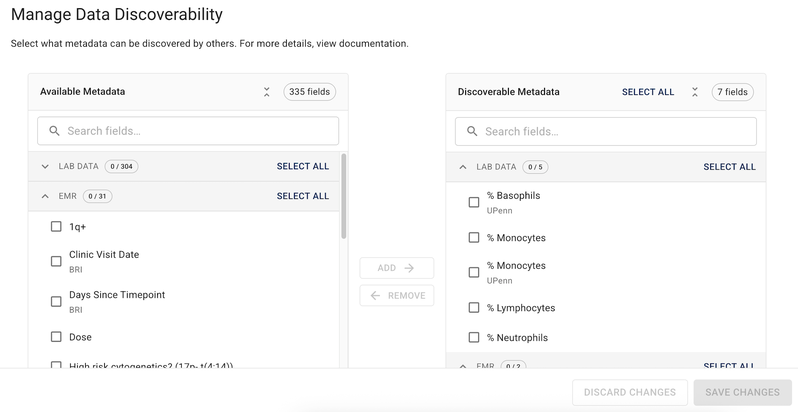
C. Use the checkboxes to select the fields you want to keep, or click SELECT ALL.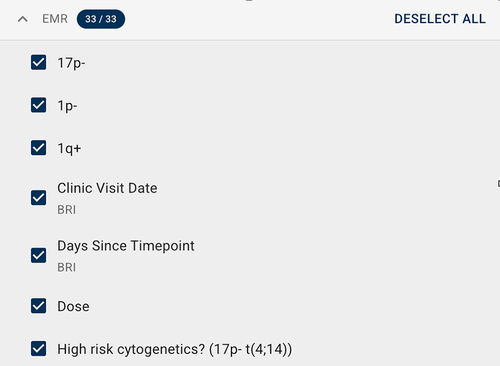
i. To move items from Available [for selection] to Discoverable [by the public], click ADD.
ii. Click SAVE CHANGES.To confirm, click SAVE CHANGES again in the dialog box. The saved items now appear in the Discoverable Metadata section of the Manage Metadata Discovery page.
Step 3: Mark public assets as Reviewed
Return to the Manage Data Discoverability page for your Data App or publication.
Click ACTIONS > Mark as Reviewed.
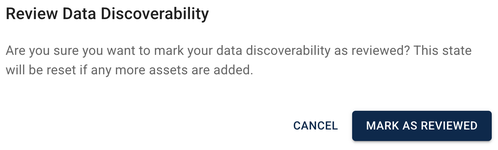
In the Review Data Discovery dialog box, click MARK AS REVIEWED.
The orange Not Reviewed tag changes to a green Reviewed tag, and the Mark as Reviewed choice on the ACTIONS button becomes unavailable.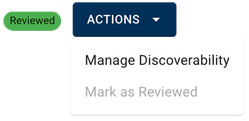
Step 4: Update public assets on your Certificate of Reproducibility
In the Data App Details panel, click CERTIFICATE OF REPRODUCIBILITY.
Click View Certificate of Reproducibility, and note the tag.

Click ACTIONS > Update Data Discoverability.
A. If a Reviewed tag appears on the Manage Data Discoverability page, return to the Certificate of Reproducibility page and click ACTIONS > Mark as Reviewed.
i. To indicate that you’ve reviewed the public data in your release, in the dialog box, click MARK AS REVIEWED
ii. To return to your certificate without marking it as reviewed, click CANCEL.B. If a Not Reviewed tag appears on the Manage Data Discoverability page, return to Step 2 of this tutorial to review and select discoverable data (if any) and mark the data as Reviewed.
Step 5: (Optional) Find your discoverable data in Advanced Search
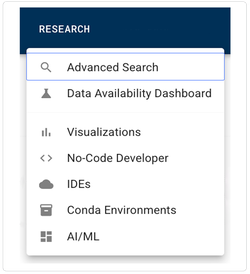
In a new browser tab, open HISE and go to Research > Advanced Search.
In the Filters panel at left, click the PUBLIC FILES tab.
In the Advanced Filters field, click the arrow to open the drop-down list.
A. In the Public Releases group, click Release Name.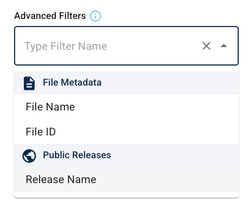
B. In the Release Name dialog box, find and select the name of your Data App or publication:
i. In the Operator field, keep the default equals, or click the drop-down list and select a different operator. Then select the correct item from the Value field.
ii. Alternatively, click into the Value field, and type the first few letters of the name of your Data App or publication. Then select the correct name from the list.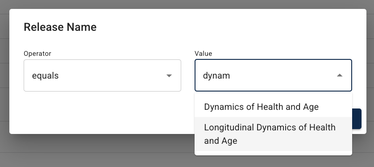
iii. Click APPLY.
iv. In the results window, review the publicly accessible items associated with your Data App or publication. If you see items that shouldn't be public, or if you want to add items, return to the Manage Discoverability page, as explained above.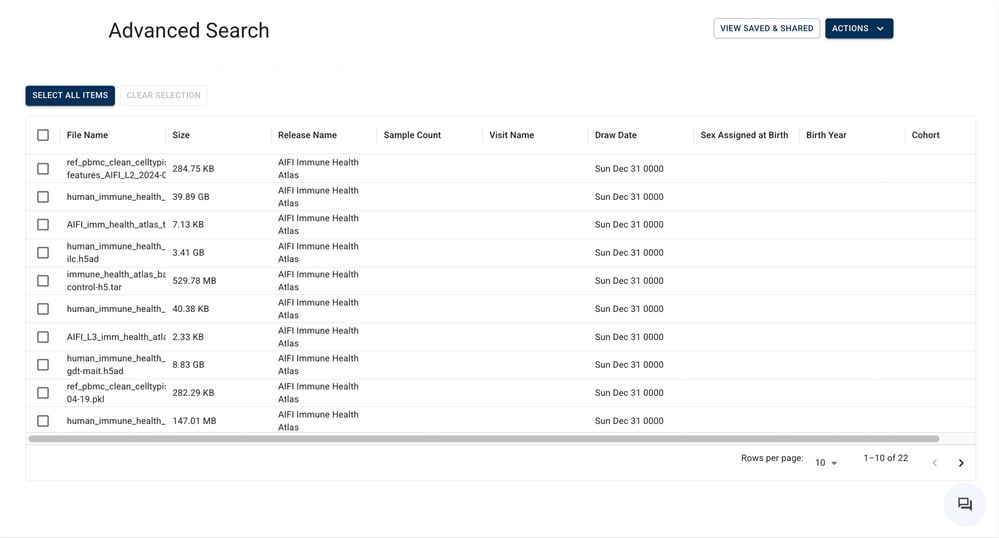
Alternatively, select items and use the floating options menu to apply your search results as you would in any other Advanced Search (for example, select the results and add them to a file set).
 Related Resources