Last modified 2026-03-11 |
Install a GitHub Package in a Pixi Environment (Tutorial)
At a Glance
 | Abbreviations Key |
| HISE | Human Immune System Explorer |
| IDE | integrated development environment |
| PyPI | Python Package Index |
In this tutorial, we show you how to install a Python package from a GitHub repository in an IDE that uses a Pixi environment. We also explain how to add the package and confirm that it's ready to use.
If you have questions or need help, contact Support.
- Step 1: Open an IDE with a Pixi environment
- Step 2: Create a Pixi shell
- Step 3: Install the package from GitHub
- Step 4: Confirm that the package works in your IDE
- Step 5: Save your setup
When to Use This Feature
Use this feature when you want to add a Python GitHub package to an existing Pixi IDE without waiting for a new prebuilt environment:
- Install a project‑specific or lab‑specific Python package from GitHub for use in a Pixi IDE.
- Try a new or experimental package version that's not part of your standard Pixi environment.
- Extend a Pixi environment with the extra packages you need for your analysis.
| To create a reusable Pixi environment that others can choose when they create IDEs, see Save a Custom Pixi Environment (Tutorial). |
Instructions
 Open an IDE with a Pixi environment
1. Navigate to HISE, and use your organizational email address to sign in.
2. Either create a Pixi environment from scratch and open an IDE that uses the new environment, or choose a saved Pixi environment and create an IDE from it:
A. To create a new Pixi environment from scratch, follow Step 1 and Step 2 of Save a Custom Pixi Environment (Tutorial).
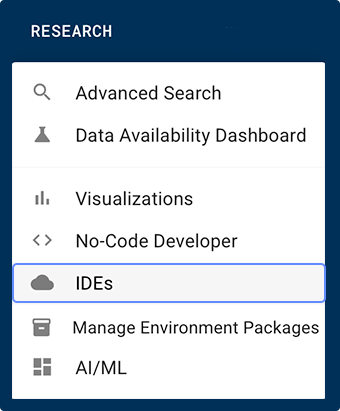
B. Alternatively, to use a saved Pixi environment, start at the top navigation menu in HISE. Click RESEARCH, and choose IDEs from the drop-down menu.
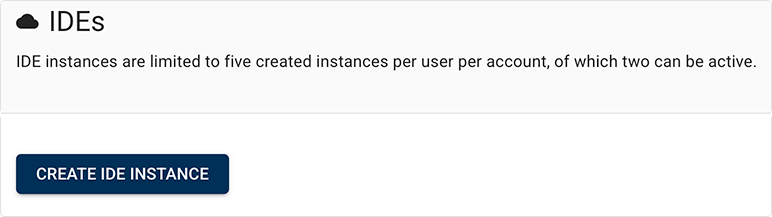
C. On the IDEs page, click CREATE IDE INSTANCE.
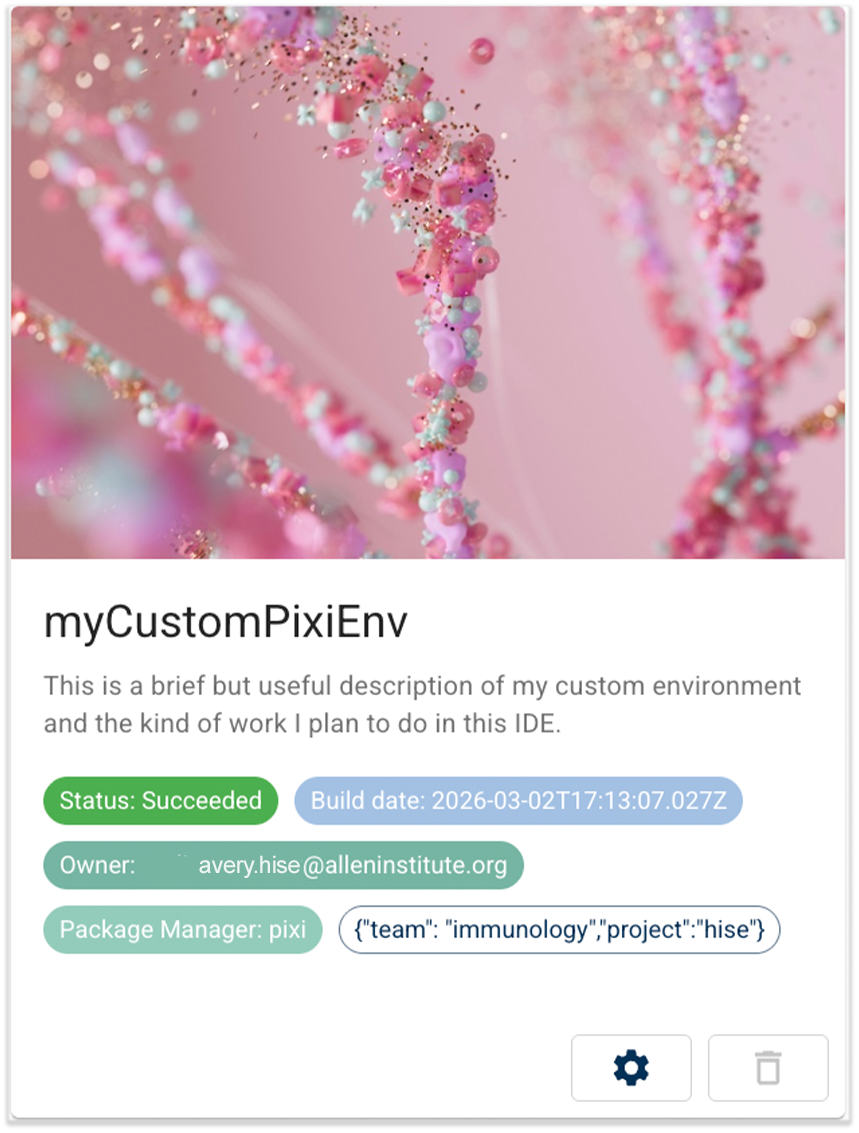
D. Choose a Pixi environment that you've previously saved, or select one that a colleague has saved and shared with you. Look for the Pixi package manager chip near the bottom of the card.

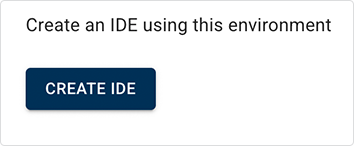
E. On the Create an IDE with this package page, click CREATE IDE.
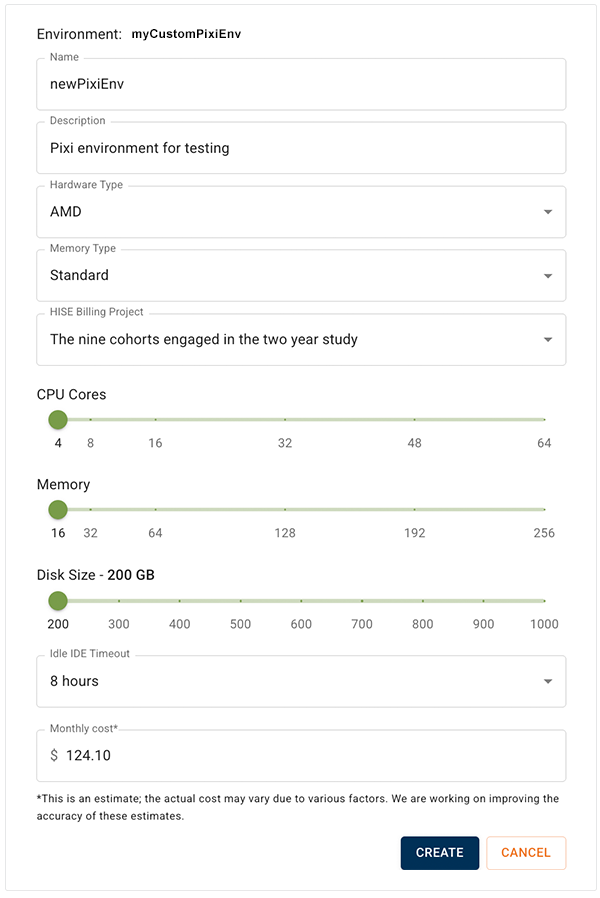
F. On the IDE Settings page, enter the requested information (Name, Description, and HISE Billing Project), and click CREATE.
G. To open the IDE after it builds, click the arrow in the lower-left corner of the card.


 Create a Pixi shell
A Pixi shell is a terminal session connected to your Pixi environment. In this step, you install packages within that shell to add them to your Pixi environment.
1. In your IDE, open a terminal (File > New > Terminal, or use the terminal button in the UI).
2. To verify that the Pixi environment is active, do one of the following:
A. Check to make sure your workspace prompt looks something like this, where (piximinimalv2) is the name of your Pixi environment, and newpixienv2 is the name of your IDE:
(piximinimalv2) root@newpixienv2-0:~#
B. Run the following command:
pixi info
In the environments block at the bottom of the output, the prefix location line should indicate that a Pixi environment is active.
| Target platforms: linux-64 Prefix location: /home/workspace/environment/piximinimalv2/.pixi/envs/default |
C. Run the following commands:
echo "$PIXI_IN_SHELL"

echo "$PIXI_PROJECT_MANIFEST"
If your Pixi environment is active, the first line returns 1, a flag confirming that you're inside a Pixi shell. The second line returns a path to your workspace configuration file.
Keep your Pixi shell open. You'll use it to install your package from GitHub.
 Install the package from GitHub
Specify which GitHub repository Pixi should install the package from.
1. In your browser, sign in to GitHub.
2. Copy the full URL of the repository where your package code is stored.
https://github.com/REPO/PACKAGE_NAME |
| Before you run the install command, review the local source packages in your project and remove any you don't want to include in this environment (such as
|

3. Make the SDK call.
A. Use your GitHub Pixi package URL in place of the generic URL.
B. Replace PACKAGE_NAME with the name of the package you want to install.
C. Add a version tag.
D. To switch to Python, enter python.
E. To import hisepy, enter the following command at the Python prompt:import hisepy as hp
F. Run the command in your Pixi shell:
hp.install_github_package_to_pixi_env(url="https://github.com/REPO/PACKAGE_NAME", version_tag="1.0.1")
Example: hp.install_github_package_to_pixi_env(url="https://github.com/ahise/Averypack", version_tag="7.4.1")
Wait for Pixi to finish the operation. If you receive no error message, the package has been added to your Pixi environment.
 Confirm that the package works in your IDE
Confirm that the package can be imported and used.
1. In your IDE, open a Python notebook.
2. To import hisepy, enter the following command into the first cell of your notebook. Then click Shift+Enter to run the cell.
import hisepy as hp |
3. To confirm the package import, enter the following command. Replace PACKAGE_NAME with the package name you used in Step 3.2. Click Shift+Enter to run the cell.
from package_name import PACKAGE_NAME | Example: from averypack import Averypack |
If you receive no error message, the package is available in your Pixi environment. If you receive an error message such as ModuleNotFoundError, see Troubleshooting.
 Save your setup
Using the preceding steps to install GitHub package updates only in your current Pixi IDE. If you want future IDEs to have the same configuration, you must save your setup.
1. Keep your IDE open, and follow the instructions in Save a Custom Pixi Environment (Tutorial).
2. When prompted for the environment name and description, mention the GitHub package you just installed so that your future self and your team members know it's included.
Troubleshooting
| Error | Symptom | What to check |
| The install command fails | The SDK call to install_github_package_to_pixi_env produces an error | Make sure you typed the command exactly as documented. |
Confirm that you replaced all placeholders (REPO, PACKAGE_NAME) with real values and copied the GitHub URL correctly (including https://). | ||
| If the error mentions version conflicts or unsupported dependencies, the package may not be compatible with your environment. Contact Support for help. | ||
| The import fails in the notebook | The install command succeeds, but import PACKAGE_NAME fails with a ModuleNotFoundError or similar message | Confirm that your notebook is using the same Pixi environment where you installed the package in the Pixi shell. Then restart the kernel and try the import again. |
In the package README on GitHub, check the correct Python import name. It may differ from the PACKAGE_NAME. | ||
| If your import continues to fail, contact Support for help. |
 Related Resources